Octoprint API – Showing Print Progress on Twitch Stream

While I was streaming on twitch.tv/atommouse, I kept finding myself updating the chat with the print progress. I thought there could be a better way, so I did some research and found there is an Octoprint API that allows you to query information such as File Name and Print Percentage.

You can copy it from my github at https://github.com/adamrouse/Octoprint-Percent-Complete

Just Replace [PiIPAddress] with your Pi’s IP address and [APIKEY] with the OctoPrint API key accessed from the Settings > Features > API page.


notepad_uXWiZWsNUy

Custom CSS Code needed for display in OBS:

#percentinfo {

font-family: “Trebuchet MS”, Arial, Helvetica, sans-serif;

border-collapse: collapse;

width: 100%;

}

#percentinfo td, #percentinfo th {

border: 1px solid #ddd;

padding: 2px;

}

#percentinfo tr:nth-child(even){background-color: #f2f2f2;}

#percentinfo th {

padding-top: 10px;

padding-bottom: 10px;

text-align: center;

background-color: #4CAF50;

color: white;

}

Cosplay – FanExpo 2019 – The Last Samurai

This year I decided to go again in my The Last Samurai Costume, but make a helmet and mask. I also made some improvements to the armor panels and structure of the costume.

img_20180902_143653~23330254266846454864..jpg

To make sure i wouldn’t miss anything I put it on a list.

image-20190818_1245254423094046582024595.jpg

Then I attempted to make my own mask based off the movie but struggled to figure out how to do it with meshmixer or fusion360 so I found a file on thingiverse and printed it. Luckily I didn’t leave my printer alone because I ran out of filament around 90% through the print, I swapped blue filament in and it worked.

image-20190811_1806428737770179884874868.jpg

There are these squares that connect pieces of chainmail, so I made some small and regular sized chainmail and went to work. I spent 8 hours on Saturday making one of the arms, then 7 on Sunday.

Once I was finished with the chainmail I still had energy so I found a tutorial on YouTube by Evil Ted, took screenshots of the helmet patterns and replicated them in Fusion 360. Since I don’t have a regular printer I printed the patterns on my 3d printer a few layers thick. I was able to get the main structure done before I went to bed.

Damaged Gameboy Cartridge Replaced using Fusion 360 and 3D Printing

IMG_20180427_125257 (2)

I am always trying to find a project to work on. I have been watching videos of people buying broken retro game systems and repairing them, and that inspired me to look through my collection of retro game stuff to see if 3D Printing could fix anything.

I found a copy of Pokemon Blue my friend lent me that looks like a dog bit into it. The game still worked but inserting the cartridge into the Gameboy made crunchy noises. I checked on Thingiverse and found this by powertomato. I printed it, but when I was sanding down some of the parts, the tabs broke. Also I felt the top shell was too thin. I then found this by DomesticHacks, but it didn’t have a mounting hole and was missing some of the grips on the side of the cartridge.

So I pulled out my trusty calipers, and re-created the cartridge. I went through about 7 iterations, and now I have a cartridge that is very close to the original, I even tested it with the original shell and it fits.

Here is a video of the design process:

Here is a video of the printing:


The Result:Upclose

Designing a Vase in Fusion 360

I decided to make a vase. I found this tutorial on YouTube that shows a simple way of making a vase with the coil tool.

I created a square coil, then rotated it and used the circle pattern tool to make multiple copies that created the shape of the vase.

The bottom had square corners sticking out, so I  cut a extruded rectangle out of it. then added a cylinder to fill the hole.

Using Autodesk Remake to 3D Print a Selfie

In a quest to print less things from Thingiverse and more of my creations. I decided to print a 3D selfie. There were suggestions on YouTube to use Autodesk Remake so I went with it.

The videos suggest for the best results and lighting, to take pictures outside on a cloudy day, so you dont have shadows, and light is evenly spread around you. I wanted to use my webcam so I did it at my computer indoors, in the evening, with lighting from a lamp above me. 

On my first attempt I had the camera above me and spun in my chair, with the timelapse software taking pictures every 3 seconds. After each revolution I would move the camera down to eye level then onto my desk. 
I moved the photos to my computer, then removed ones that were blurry or at a bad angle and ended up with 45 photos. The free version of Remake only allows upto 50 photos so I just made it under the limit. It processed and emailed me that it finished sucessfully. I downloaded and opened the file and …. Failure! My result appeared to have a blurry background and I was just a skin coloured blob in the middle. 

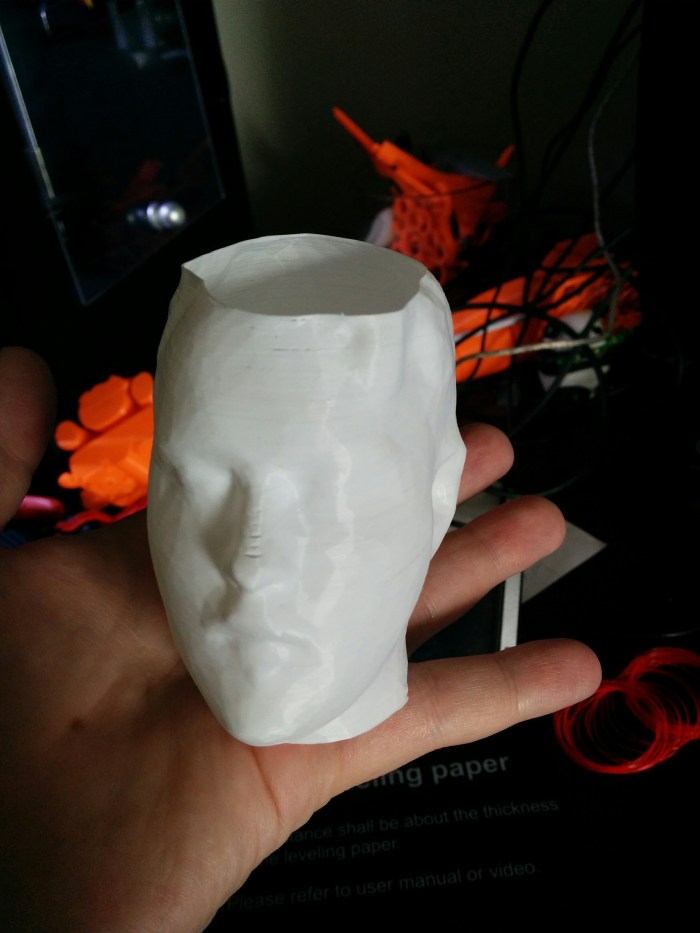
I decided to try again, this time moving the camera around in front of me from one side to another taking many photos and making sure to get some of the background, so the program has more reference points. I didnt take any pictures of the back of my head, and regretted that later. I uploaded these photos and after about 10 minutes I received a sucessful email, downloaded the file and… It Worked!

I was amazed by the results, it was a fully meshed and textured and looked pretty good. Since I didnt get any pictures of the back of my head, it was not meshed and open. I used the bridge gaps tool to fill in the opening, once I put a couple of joins I would use the fill holes tool to complete the mesh. There were a few bumps and valleys that I pulled and smoothed out. 

I exported the file to Meshmixer to orient it and give it a flat bottom. Exported the file as an .stl and opened it in Simplify3D. It had to be scaled up, since I forgot to set the dimentions in Remake. 

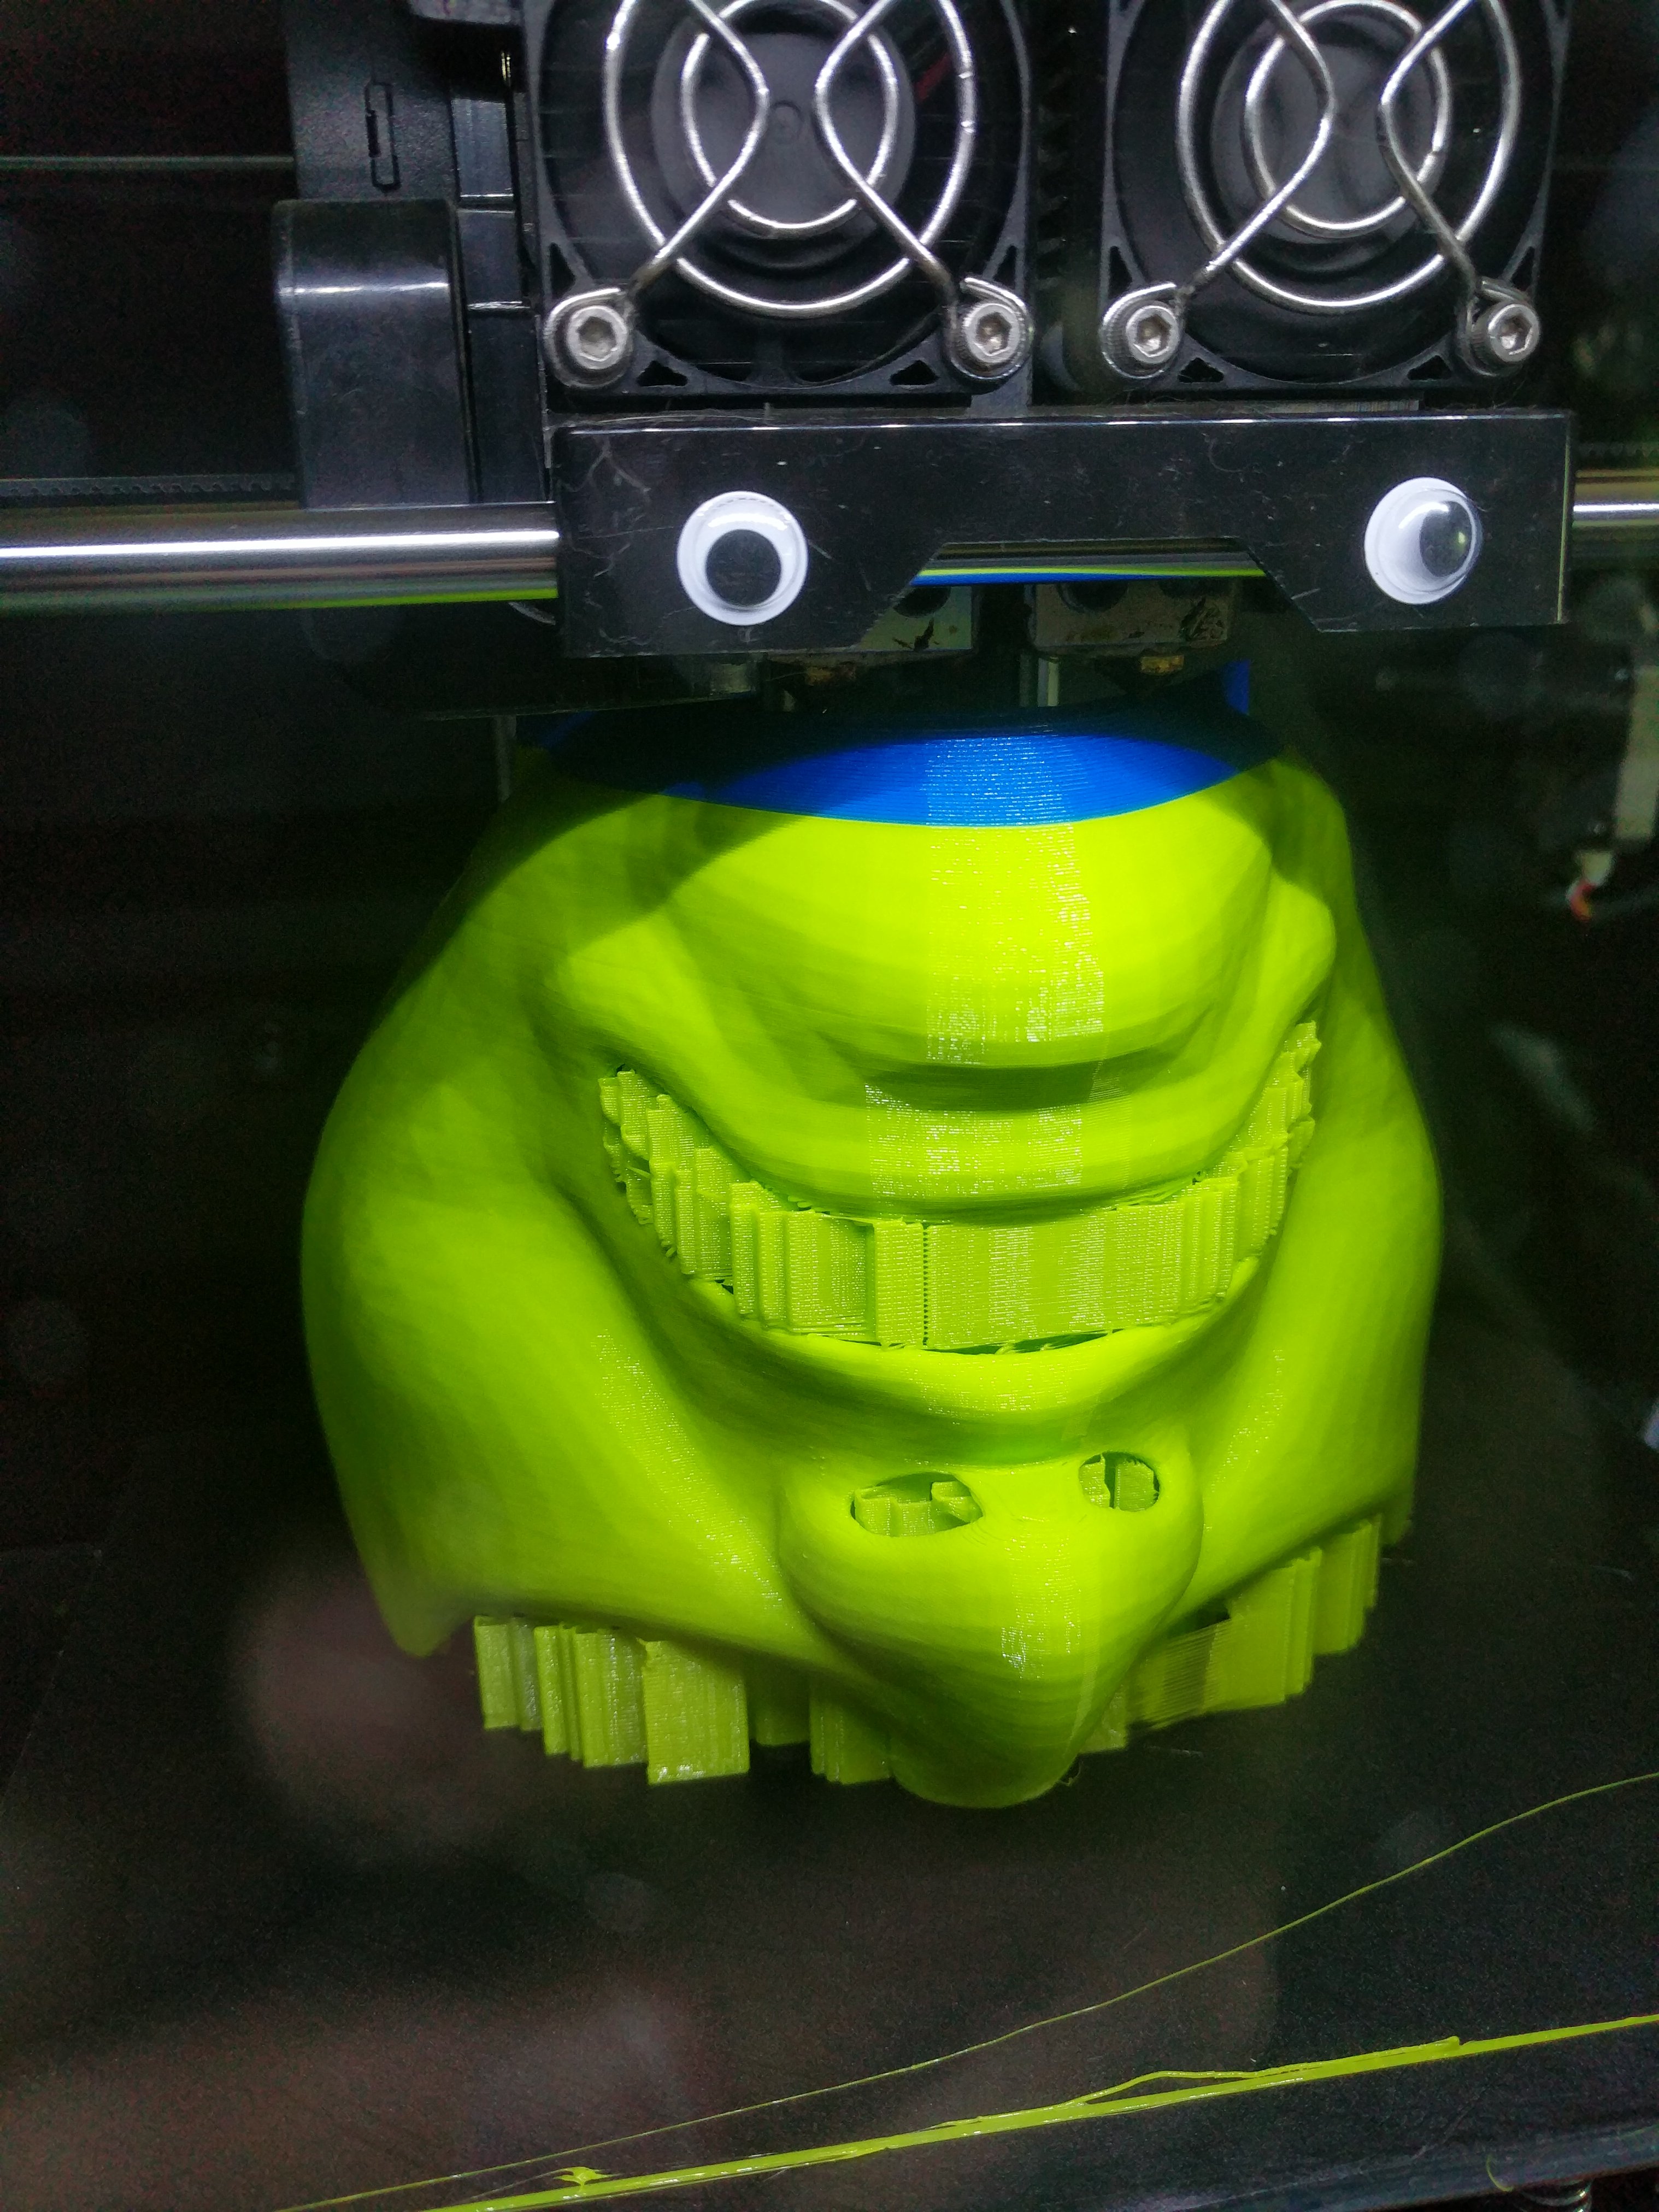
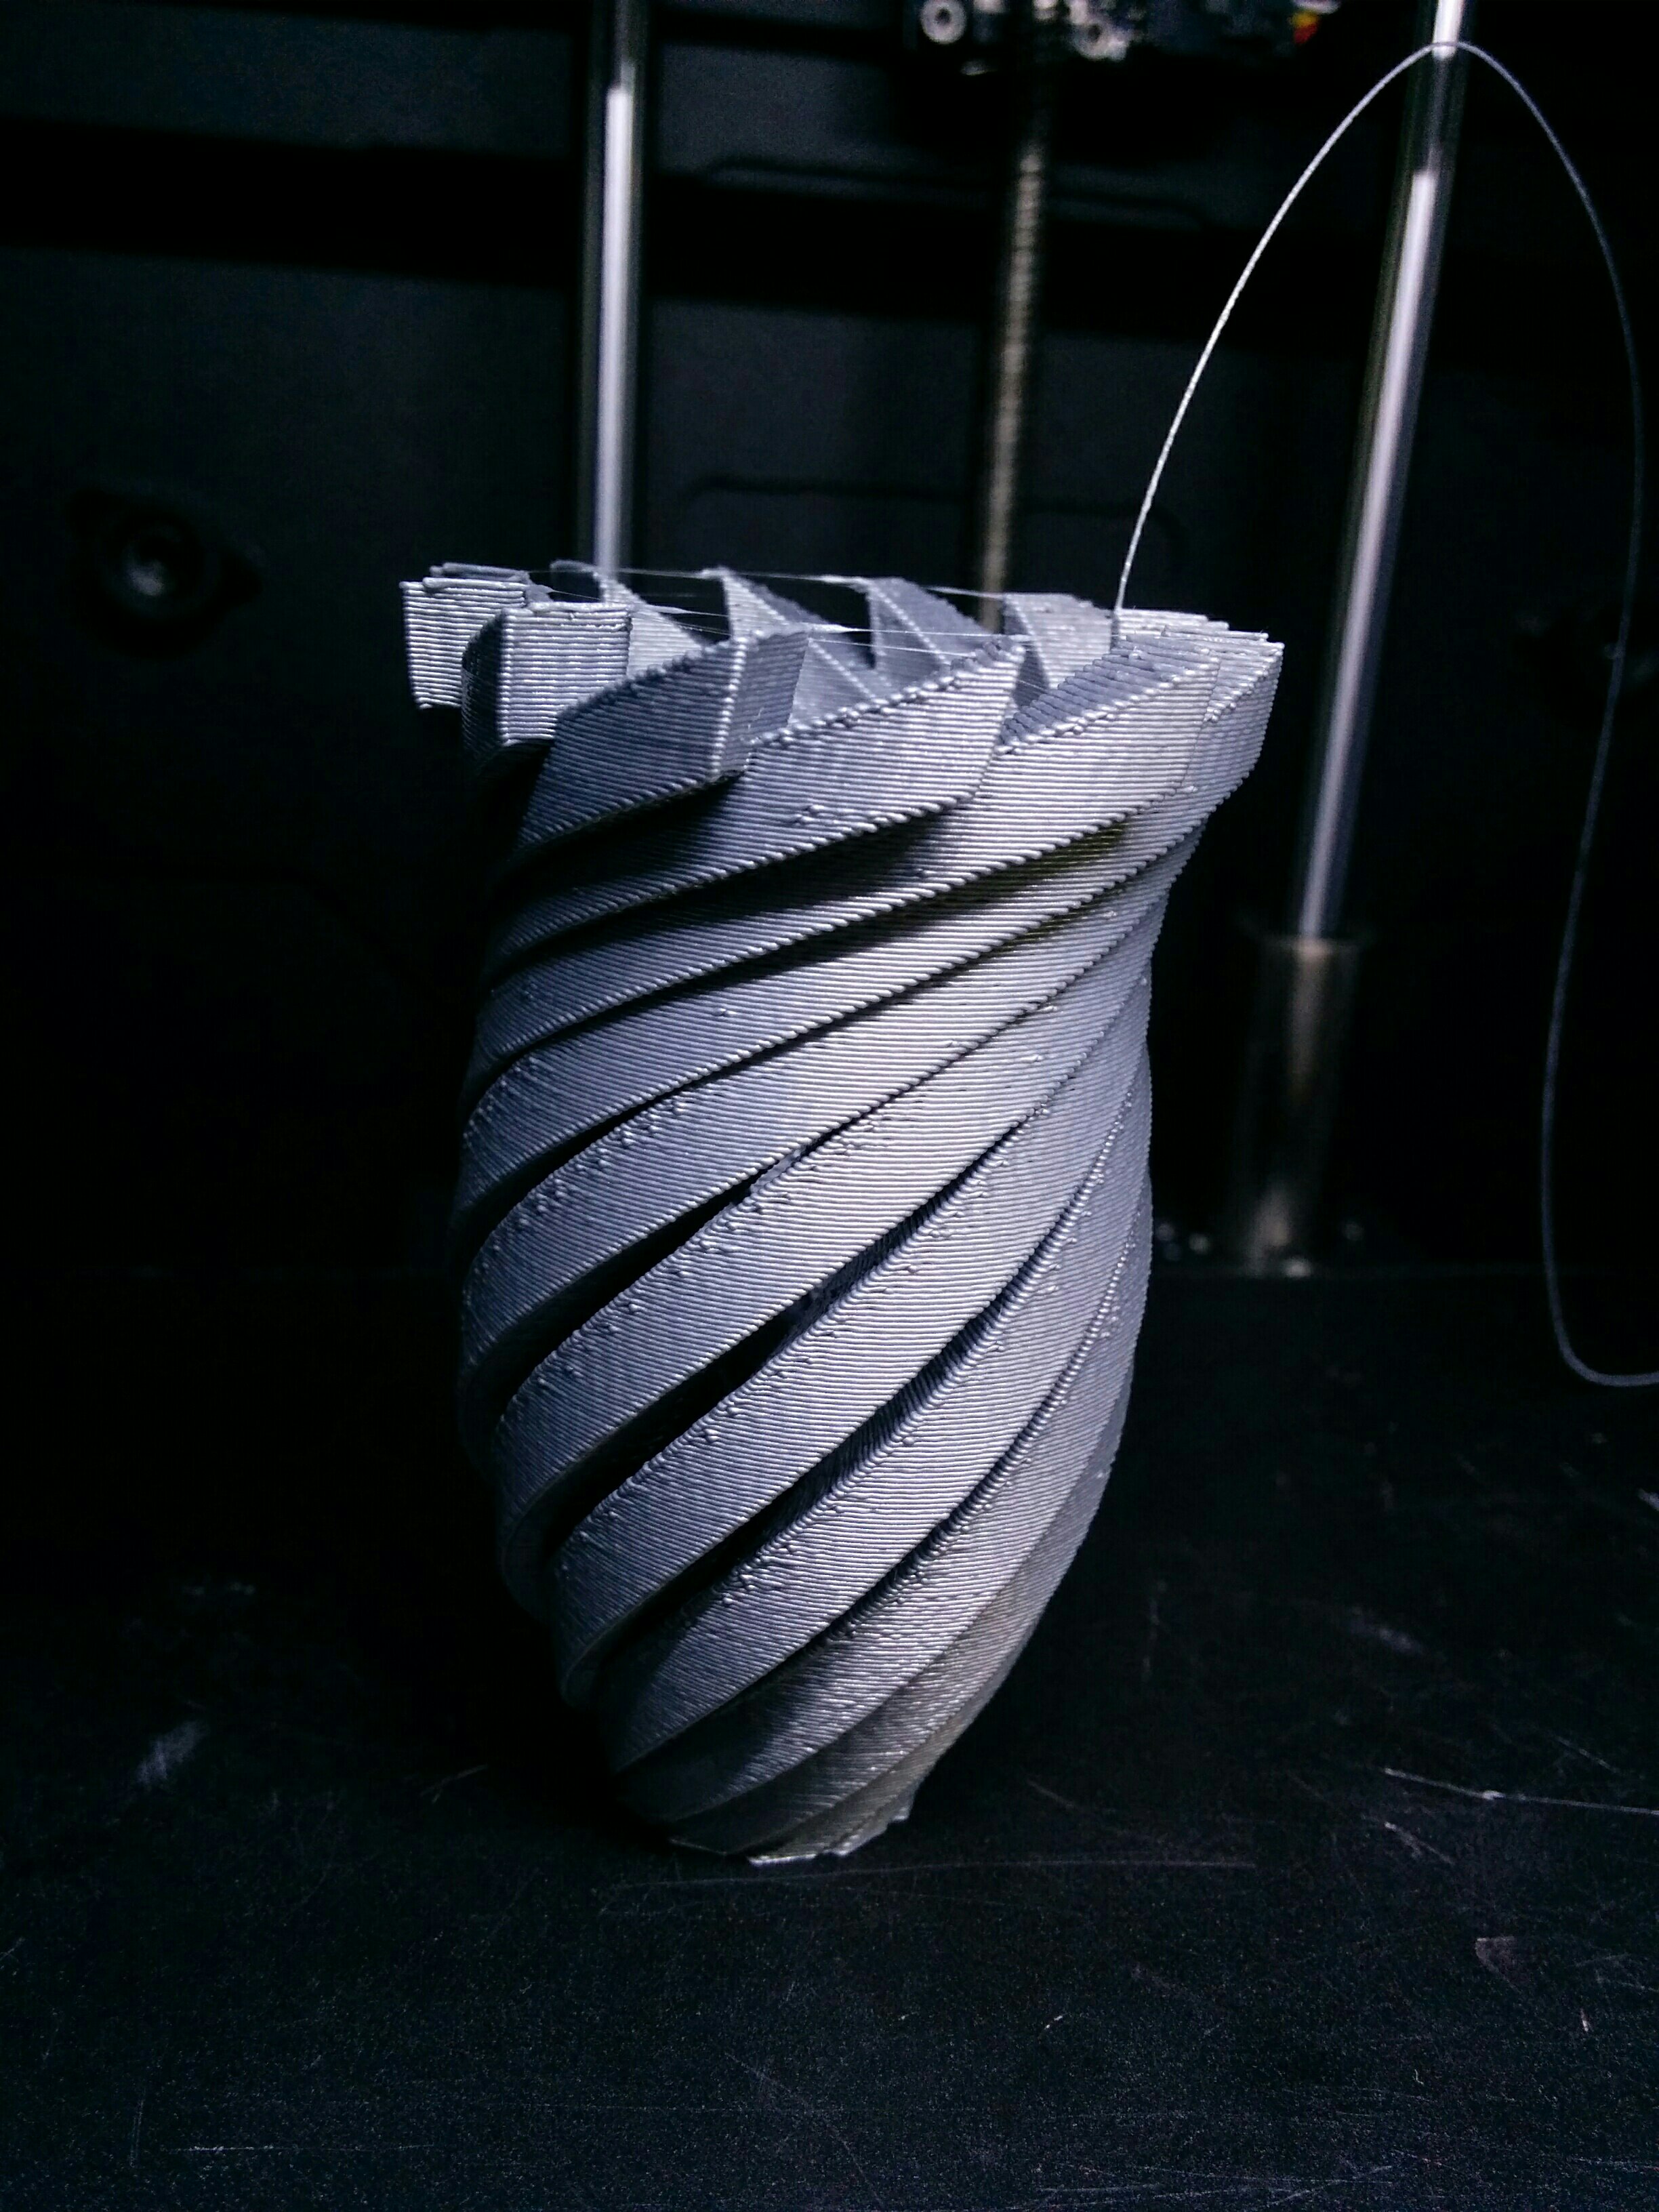
I loaded it into Simplify3D and set it to vase mode(I was impatient and wanted the print quicker). I cropped off the a few cm from the top of the model, since the filament would not have something to sit on, plus it allows me to use it as a vase.

Designing a Custom Camera Mount in Fusion 360 for 3D Printing Time Lapses

I have a Microsoft Life Cam HD3000 that I bought to use as a webcam for 3D Printing. On my previous printer, the Prusa i2, I just had the camera mounted on the lip of a jar, since the build platform was low. But for the Qudi Tech I, the build plate is high up in the machine.

To plan where I wanted the webcam, I moved it around the machine with the webcam preview window open, and found that against the plexi was nice. Since the camera was close to the build platform, I would have to design my mount to move left to right to capture anywhere on the print bed. While opening and closing the plexi glass door on the front of the printer, I noticed there was a bit of a gap between it and the machine so I decided to use that gap as a quick release.

ApplicationFrameHost_2017-07-09_02-25-59.png

I thought I could use this gap and the two surfaces on the inside of the machine and the outside of the plexi. I created a zig zag part, with a 0.6mm gap that I measured with my calipers. I designed and printed a small demo of this part to see if it would fit in the printer. It fit nicely, but the 0.6mm part was a bit flimsy, since I will be extruding it further, it should be stronger.

Fusion360_2017-07-09_02-28-23.png

Since the webcam has some complex curves, I took a picture of it with a ruler next to it so I could trace the outline and match the dimentions. After I had the outline, I added the original mount that I tested.

Fusion360_2017-07-09_02-30-35Fusion360_2017-07-09_02-32-26

After each iteration I printed a part and tested it with the camera and printer until eventually I had a complete part, that holds the camera securely but is able to be removed to operate and service the printer, and it can be slid horizontally so it can capture the print wherever it is placed on the print bed.

Here are the results:

Unclogging a Jammed Extruder on a Qidi Tech I

chrome_2017-07-09_02-06-19.png

Using a dual extrusion 3D Printer has many benefits, one of them that I’m taking advantage of is having one nozzle I can test exotic filaments in, so if it jams I still have a second extruder to use while I troubleshoot the jam. The extrude jammed a few weeks ago, so I have been just using the second extruder for now.

I saw a Youtube video by Thomas Sanladerer suggesting against using a 0.4 mm drill bit to un-clog the extruder, but I wanted to try this anyways, so I ordered a set on Amazon. After heating up the extruder then pushing the bit in the nozzle, it still jammed.

So I watched a video on Youtube by Qidi Tech on unclogging a Qidi Tech I, I used the tools they provided to remove the two bolts from the left cooling fan, pulled them out. Disconnected the motor wire, then lifted the motor up and saw a broken piece of filament sticking out between the teeth of the gears and extruder block. Using needle-nose pliers I pulled it out. I reassembled the extruder then fed the new filament into it and was able to extrude.

Have been printing successfully since for about half a week.

Broken Guitar Stand – Fix with 3D Printing and Fusion 360

We were looking around the house for something that could be fixed with 3D Printing.

Justin said that his guitar stand was missing the Y shaped plastic fork that holds the neck of the guitar. I offered to design it and he could print it on his Prusa Mendel i3 printer.

2846127351426955823-account_id=1

He measured the hole that the fork fit into, and measured the width and depth of the neck of the guitar.

ApplicationFrameHost_2017-06-29_20-10-14

Then I sketched out a very rough design in OneNote.


ApplicationFrameHost_2017-06-29_20-10-59

Using the measurements that Justin provided me, I created a new project in Fusion 360 and created the shapes I wanted using a couple lines and arcs.

Fusion360_2017-06-29_20-17-31


I extruded and used the join feature to connect the circle to the half circle part.

Fusion360_2017-06-29_20-20-03

Justin mentioned that this wont print on his FFF 3D Printer without support material, so I extruded just the bottom of the object down, so it was level with the lowest part of the cylinder.

Then to make it look nice we added fillets to the half circle and a fillet on the end of the cylinder.Fusion360_2017-06-29_20-18-51

The print printed successfully the first time, however it was a bit loose in the stand. We think this is because we measured it with a ruler instead of digital calipers . Also since we used ABS there is more shrinkage expected. We deliberately designed the cylinder to be a bit longer than we needed to compensate for this.

Here are our results:

The Print              Installed

and the trial run….Success!!

8435444460770975827-account_id=1